Introduction to BisQue Image Analysis
BisQue Bio-Image Semantic Query User Environment allows you to store, visualize, organize and analyze images in the cloud. BisQue was developed for the exchange and exploration of biological images, but can support image data from other domains.
How to login to BisQue
Launch BisQue. You must be sign into the account when prompted.
Tip: You have to request access to BisQue through the CyVerse User Portal. To request access, login to [CyVerse User Portal] (https://user.cyverse.org/) and check to see if Bisque is listed under ‘My Services.’ If it is not, scroll down and click the “Request Access” button next to BisQue.
Loading data using Cyberduck
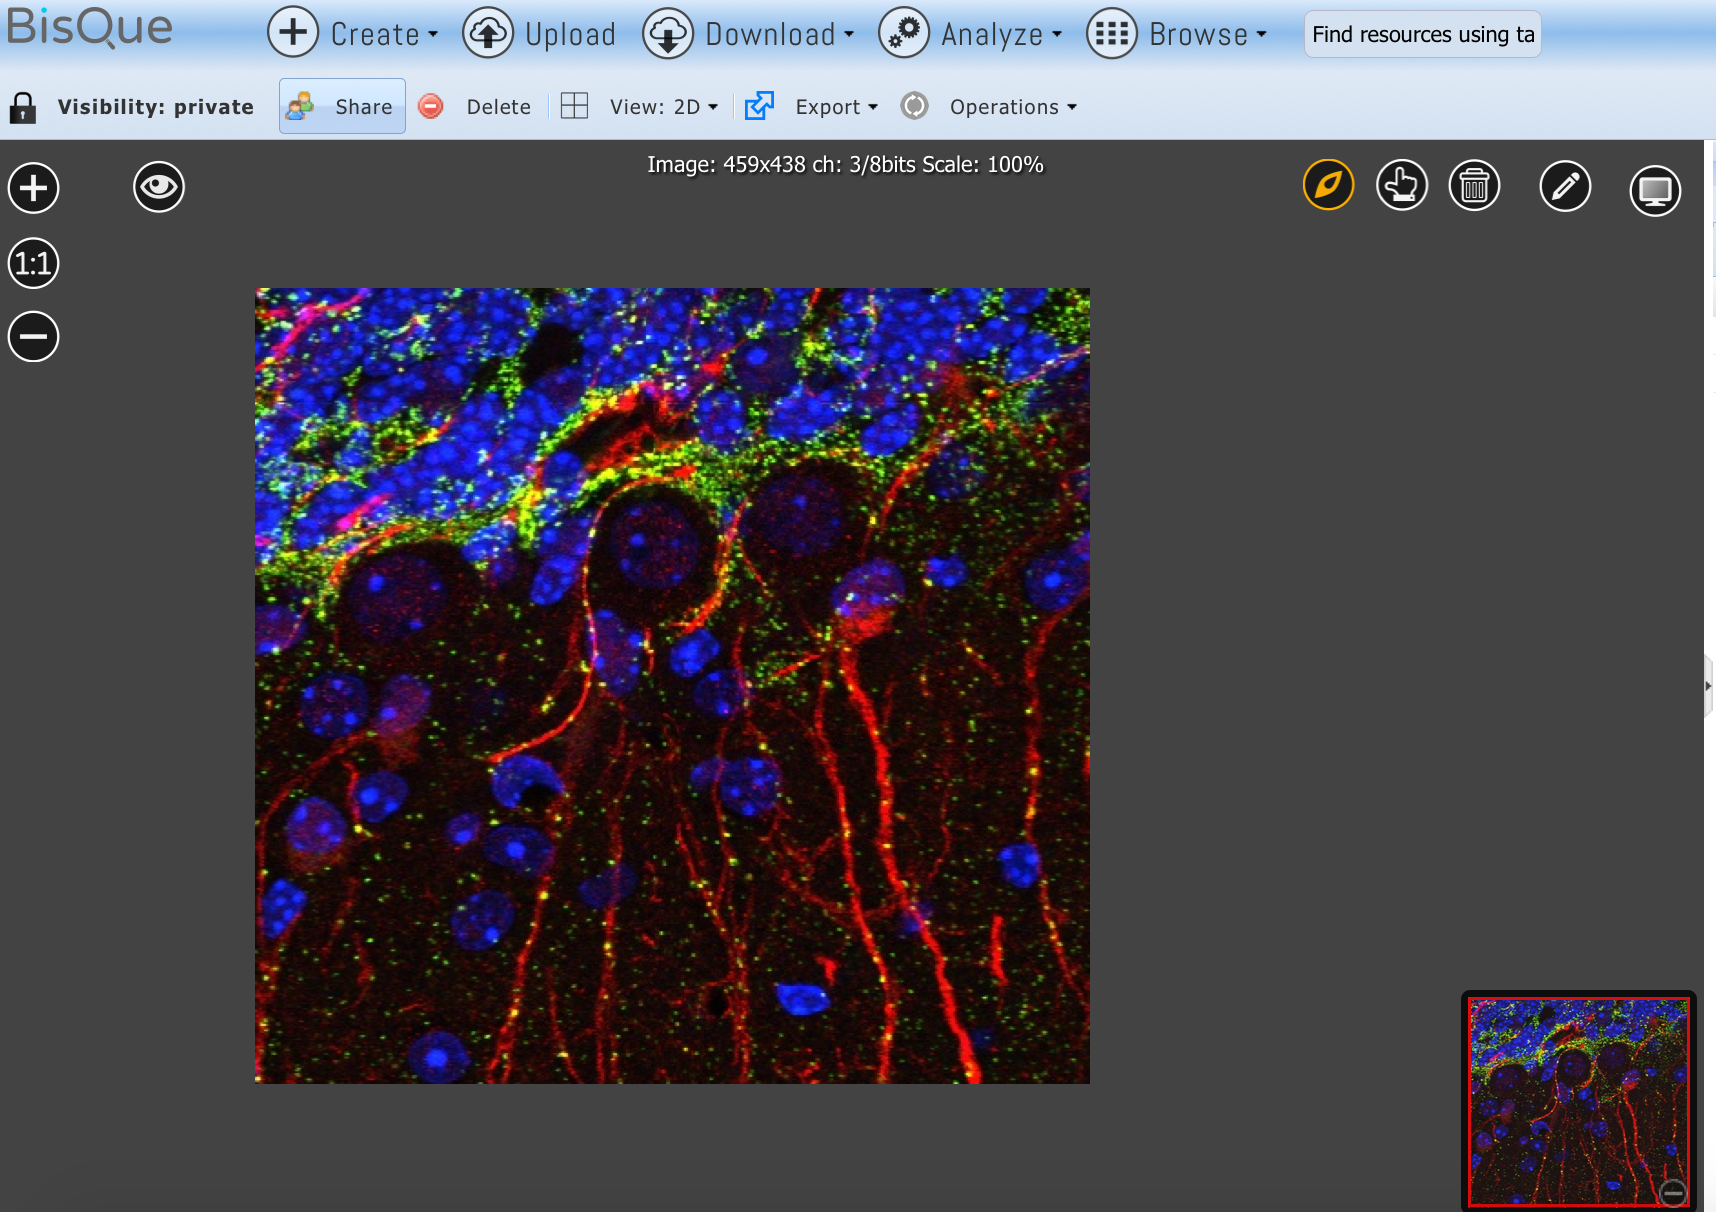
You can upload resources from 40-100 GB via a graphical interface using Cyberduck.
- Connect to the data store using Cyberduck.
- Click on the 'bisque_data' folder' to open.
- Drag your image(s) from your computer into the folder.
- Under my recent stuff, select the Images tab to find your image(s).
Loading data using iCommands
You can upload large resources (tens of GBs) or automatically upload images from your microscope or camera using iCommands.
- Connect to the data using iCommands:
iinit
Youll be prompted to enter your password.
- Change the directory to your 'bisque_date' folder.
icd bisque_data
- Use iCommands 'iput' to transfer image to the 'bisque_data' folder.
iput filename.tiff
Exercise 1 - Share image with another CyVerse user
By default, uploaded items are set to private visibility, which means only you can access or view the file. You can change the permission setting for some or all files in the list.
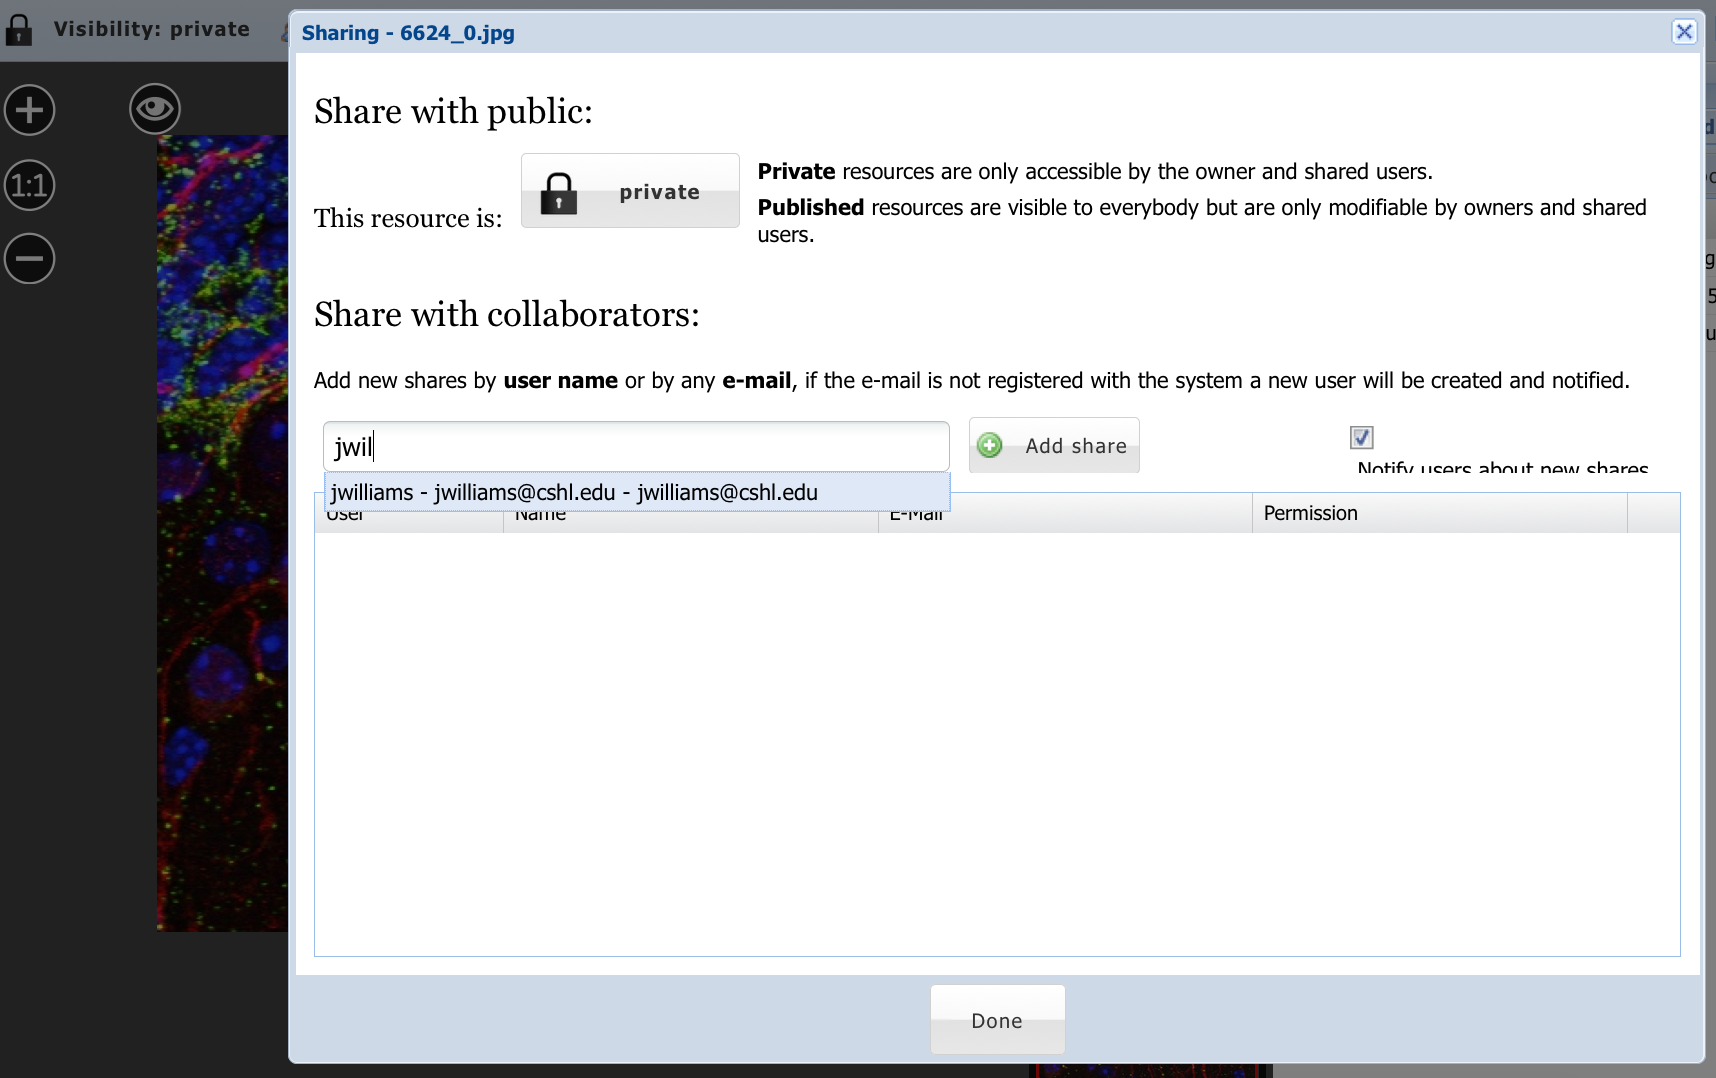
- Get the username of another CyVerse user. i.e.
- Select your image. Above the image next to visibility, there is a 'Share icon' to click on.
- A window will pop-up. Begin to type in the CyVerse username.
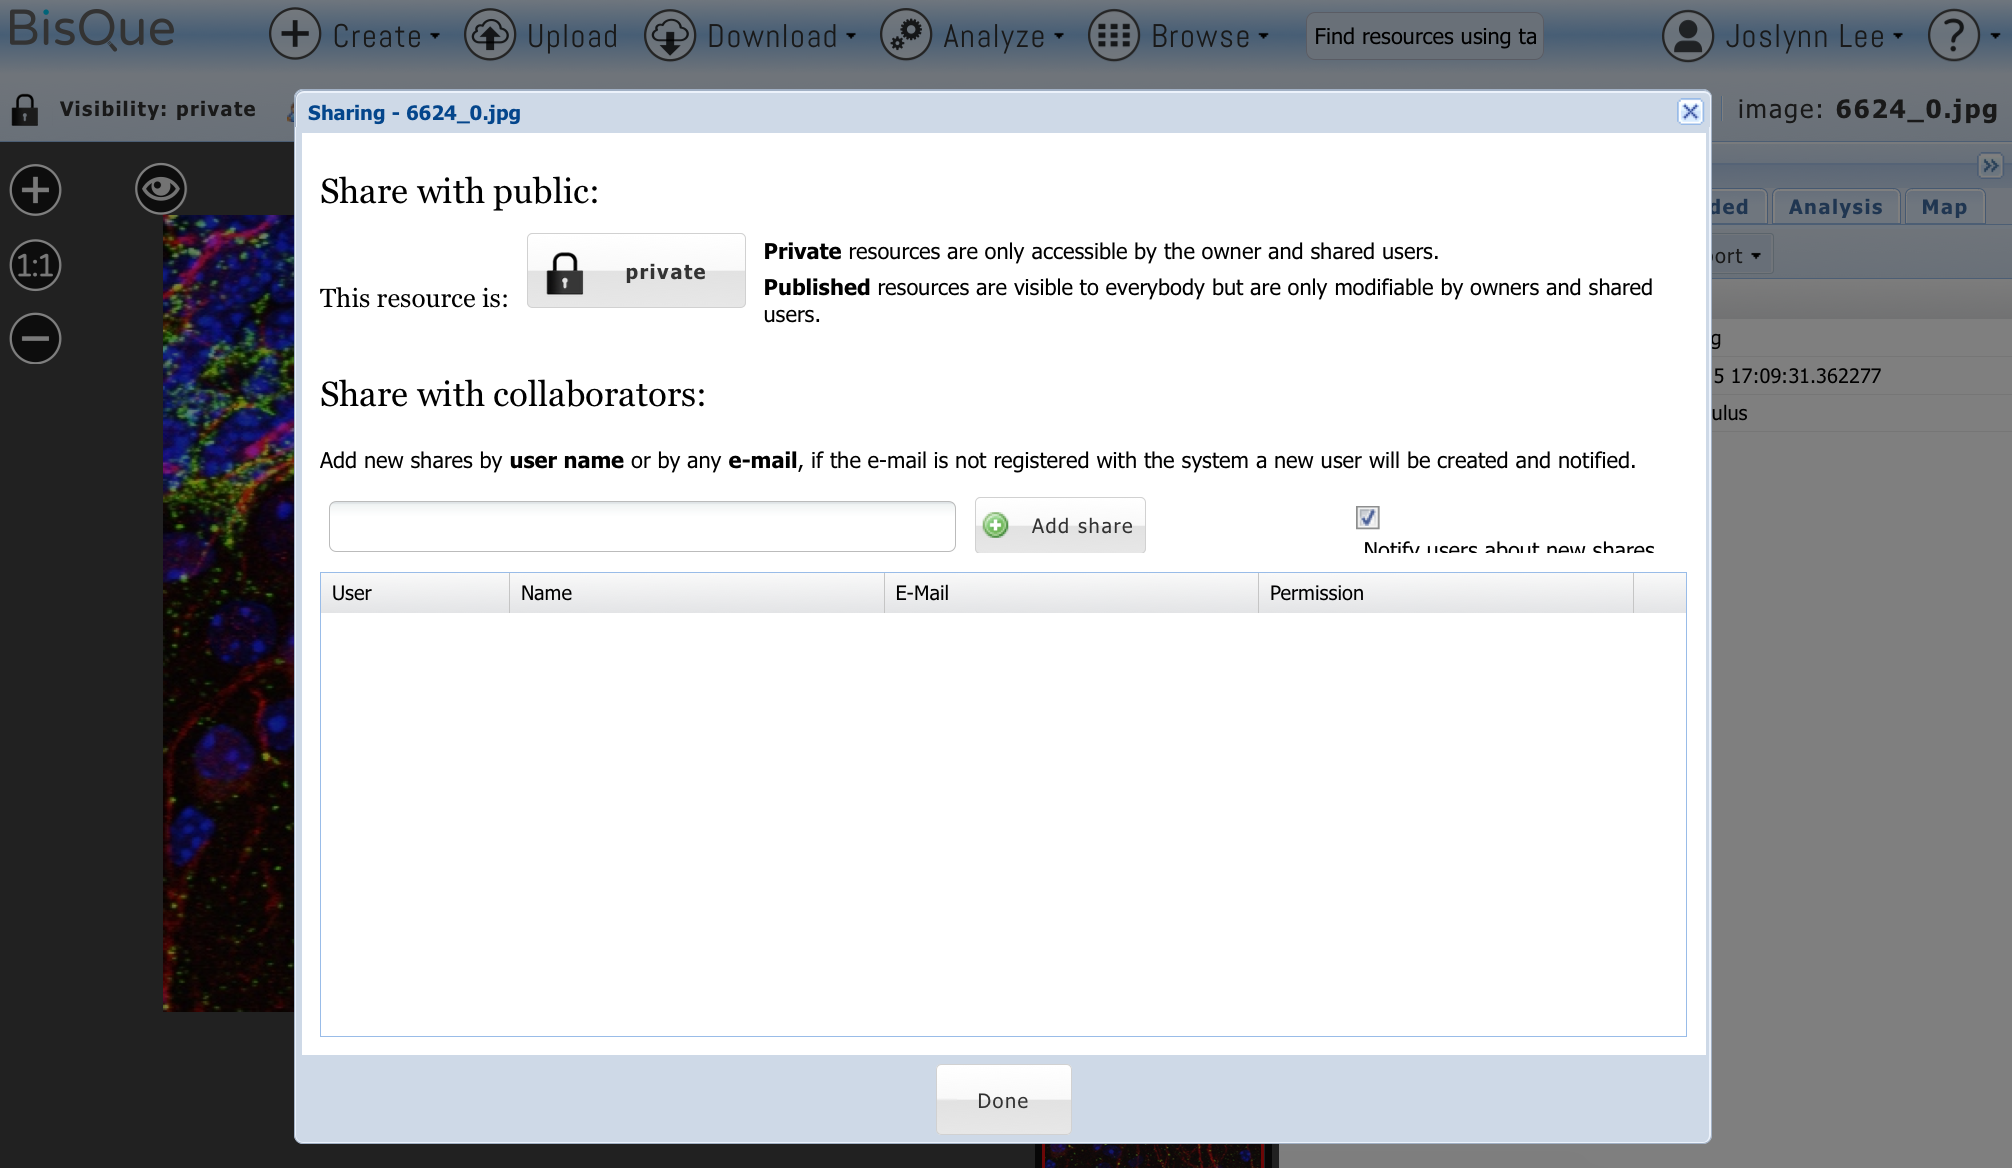
- You'll be able to set permissions depending if the image is public or private. Private resources are only accessible by the owner and shared users. Published resources are visible to everybody but are only modifiable by owners and shared users.
Exercise 2 - Add metadata (annotations) to images
You can add, delete, and IR import metadata tags (annotations) to datasets or selected files now or later. wiki link
- To add metadata to a selected file in the dataset, click the file and then click Add.
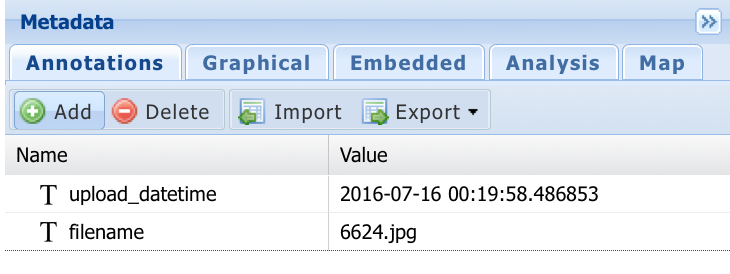
- Double-click in the Name field, and either select a name from the drop-down list or enter a new metadata name.
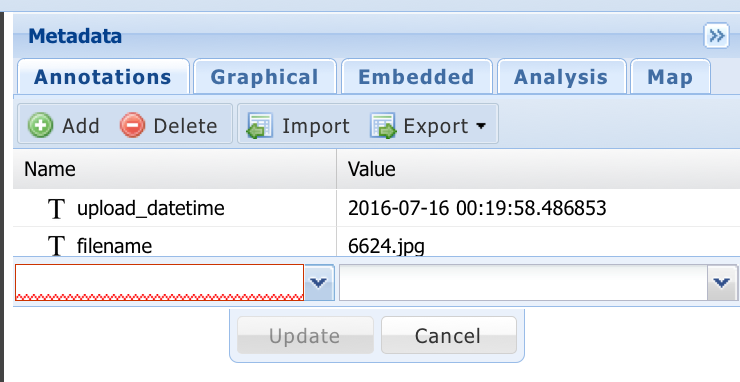
- Double-click in or tab to the Type field and enter the metadata type.
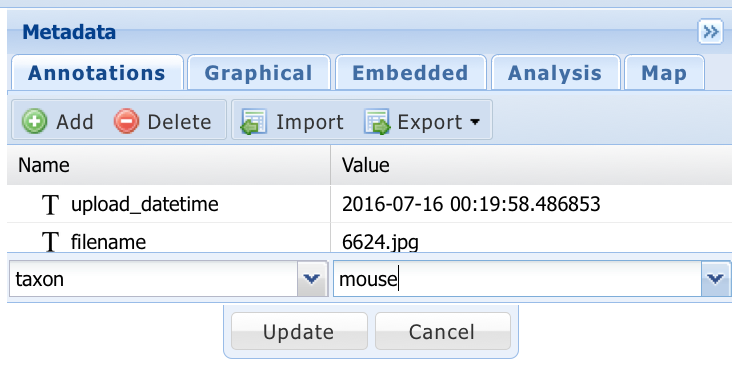
- Click Update.